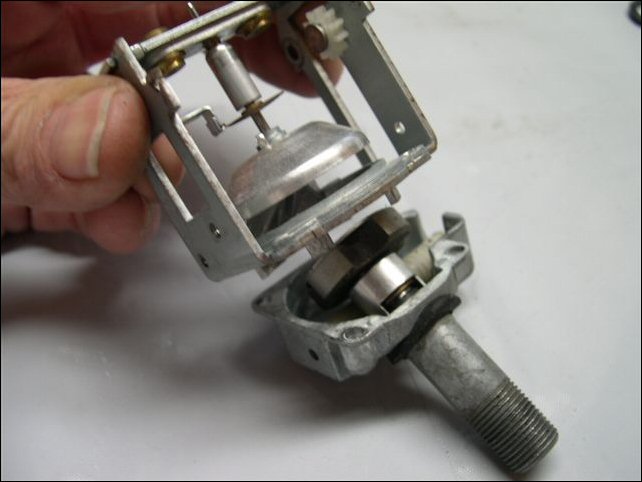
| Work continues
by splitting the two halves of the KZ900 tachometer
drive unit.
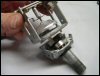 Notice the round magnet with
the "notches" in it. . This magnet spins inside
the aluminum cone in the top half of the drive
unit, and it is the magnetic field that makes
the needle move in your gauge. Over a period
of time magnets lose their "strength".
When calibrating a gauge for accuracy, this
magnet is removed and replaced by another of
differing "strength", until the gauge is reading
accurately. This is one of the most time consuming
phases of the restoration. Notice the round magnet with
the "notches" in it. . This magnet spins inside
the aluminum cone in the top half of the drive
unit, and it is the magnetic field that makes
the needle move in your gauge. Over a period
of time magnets lose their "strength".
When calibrating a gauge for accuracy, this
magnet is removed and replaced by another of
differing "strength", until the gauge is reading
accurately. This is one of the most time consuming
phases of the restoration.
Next we mask,
and then air brush the exact correct redline
area, ...restore the face plate, needle and
screws,....and re-assemble the parts to the
calibrated drive unit.
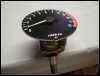  Looks a
little different now, doesn’t it? Looks a
little different now, doesn’t it?
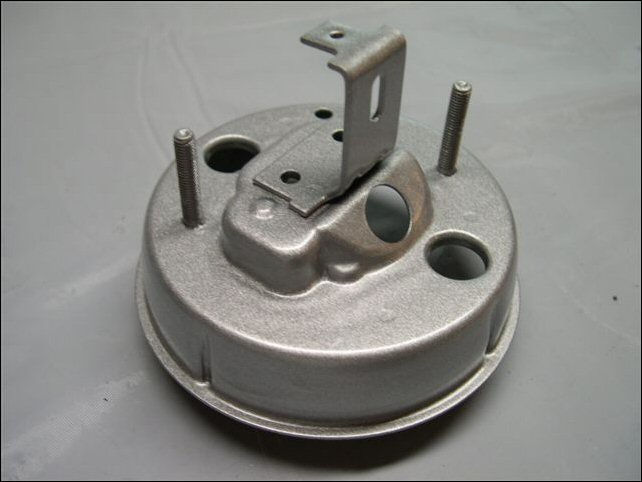
Next we dip
the bottom mounting bracket in acid to remove
all the rust and corrosion.
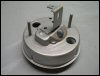 Then of course it’s primered
with etching primer, and repainted to match
as close as possible the original factory finish.
This color we are using is very hard (three
step mix) paint, and should last another 30
years. Note: this paint continues to harden over
a 30 days period - we recommend you wait for
several weeks before refitting these instruments
to your bike. Then of course it’s primered
with etching primer, and repainted to match
as close as possible the original factory finish.
This color we are using is very hard (three
step mix) paint, and should last another 30
years. Note: this paint continues to harden over
a 30 days period - we recommend you wait for
several weeks before refitting these instruments
to your bike.
 The finished drive and faceplate
is now bolted to the bottom mounting cone. The finished drive and faceplate
is now bolted to the bottom mounting cone.
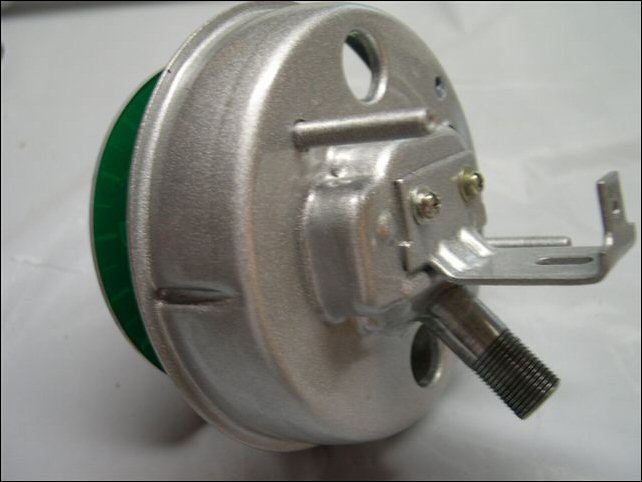
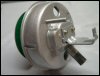
 Now for the top half assembly. Now for the top half assembly.
Your old top bezel will be replaced with a brand new top bezel that we powder coat black.
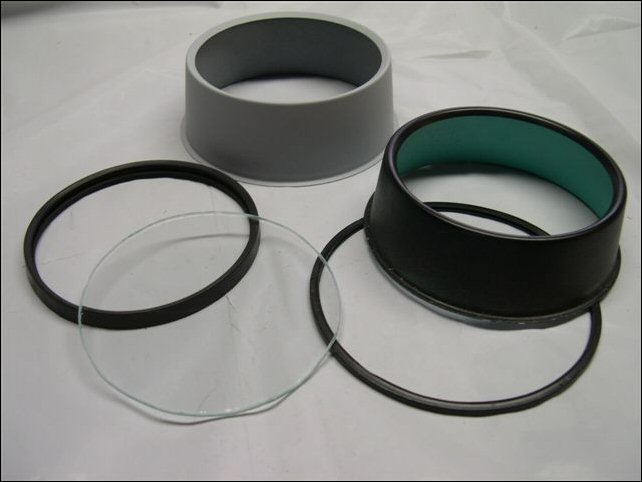
The top half
is actually five pieces. The new glass
that we cut ourselves, the inner dome {black
} and the two rubber seals for both.
We assemble
all five pieces to make up the inner and the
outer parts.
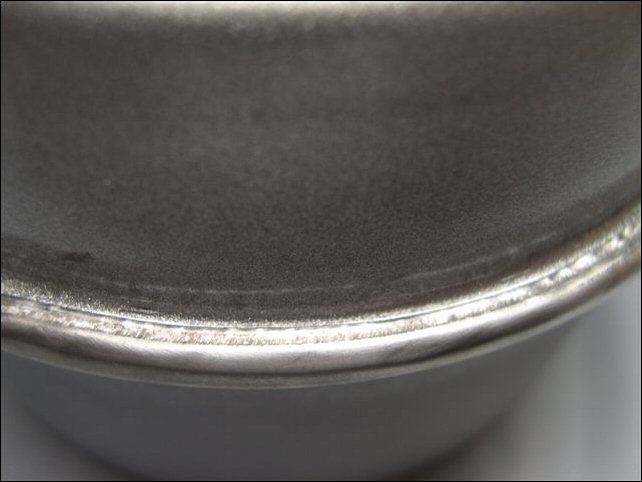
Then we slide
on a freshly polished connector ring, and pop
the two halves together.
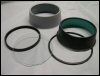
The connector
ring is pressed together by a specially constructed
tool of our design.
When finished
the connector ring will have absolutely no visible
marks on the top half of the ring while on the
bike. 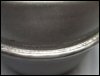 The bottom half of the ring will
have very minute marks where it was re-pressed
back together, but will be flat with no dimples.
In December of 2003, we upgraded this specially
designed tool used to press the rings on the
gauge. It is much better that the previous method
in preserving the factory look. Note
that the underside of the ring is not visible
with the black lower cone installed. The bottom half of the ring will
have very minute marks where it was re-pressed
back together, but will be flat with no dimples.
In December of 2003, we upgraded this specially
designed tool used to press the rings on the
gauge. It is much better that the previous method
in preserving the factory look. Note
that the underside of the ring is not visible
with the black lower cone installed.
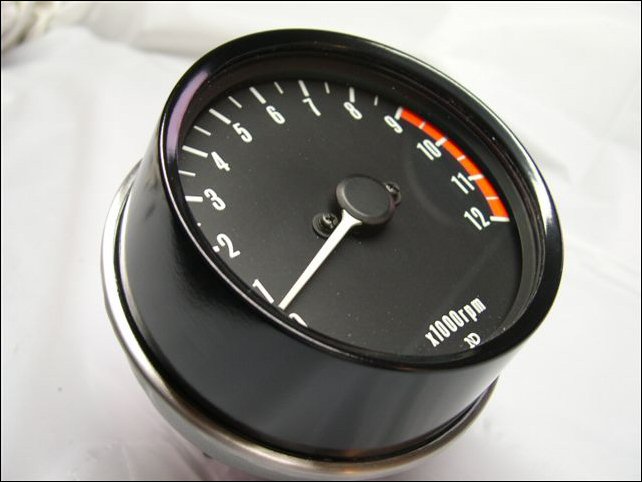
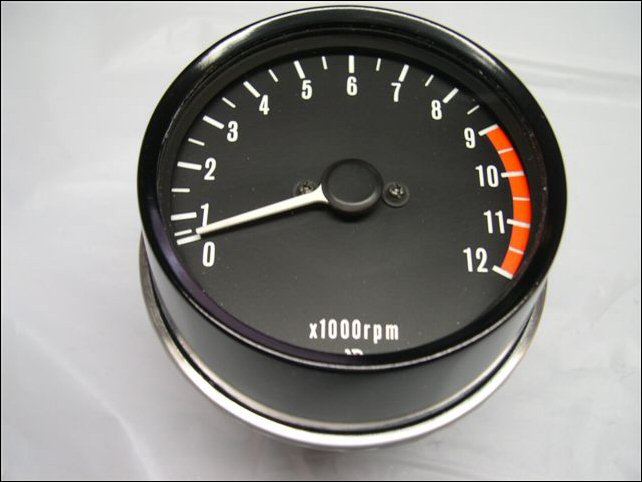
 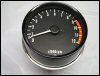 It looks like this when finished. It looks like this when finished.
With the brand new powder coated top bezel your gauges will stay looking brand new for decades.
Click to read about Custom
Gauge Restoration
|